How to Record Video on Mac: Step-By-Step (With Photo/Video)
Are you looking for the newest, most efficient way of recording a video on Mac without downloading or installing anything? Look no further than this guide, where you will be taken through a few simple steps to set you on your way to video recording heaven.

At Bubbles, we are massive advocates for asynchronous communication. However, our perception of strong async collaboration is more diverse than standard text-based communication tools, such as an email or a Slack dm. We know from experience that the best way to comprehensively get your point across while working async is to explain or show it yourself in a video, so that you can keep that air of personalisation while still being clear and thorough when delivering your point. Anyway, now that's established, you just need to know how to record a video on your device - let me show you how.
Today, we're going to be learning how to screen record on your Mac. This is a quick, easy and instant way to record without downloading or installing anything, and it is also free while carrying great benefits. By using your webcam or external camera to record yourself and your voice through the microphone, you keep the emotional and personal aspect of face-to-face communication, which is critical for a great presentation.
How to Record Video on Mac
So, let's jump into this efficient way of video and screen recording on Mac. We'll be using a free tool called Bubbles to record our screen. Here, you are able to not only screen record, but also record yourself and your audio alongside. To get started, follow this link to Bubbles' video recording feature.
Now that you have Bubbles loaded up alongside this article, let me help you out with a quick, informative walkthrough of how you can use Bubbles to nail your video recording on Mac.
- Land on Bubbles Video Recording Feature Landing Page.
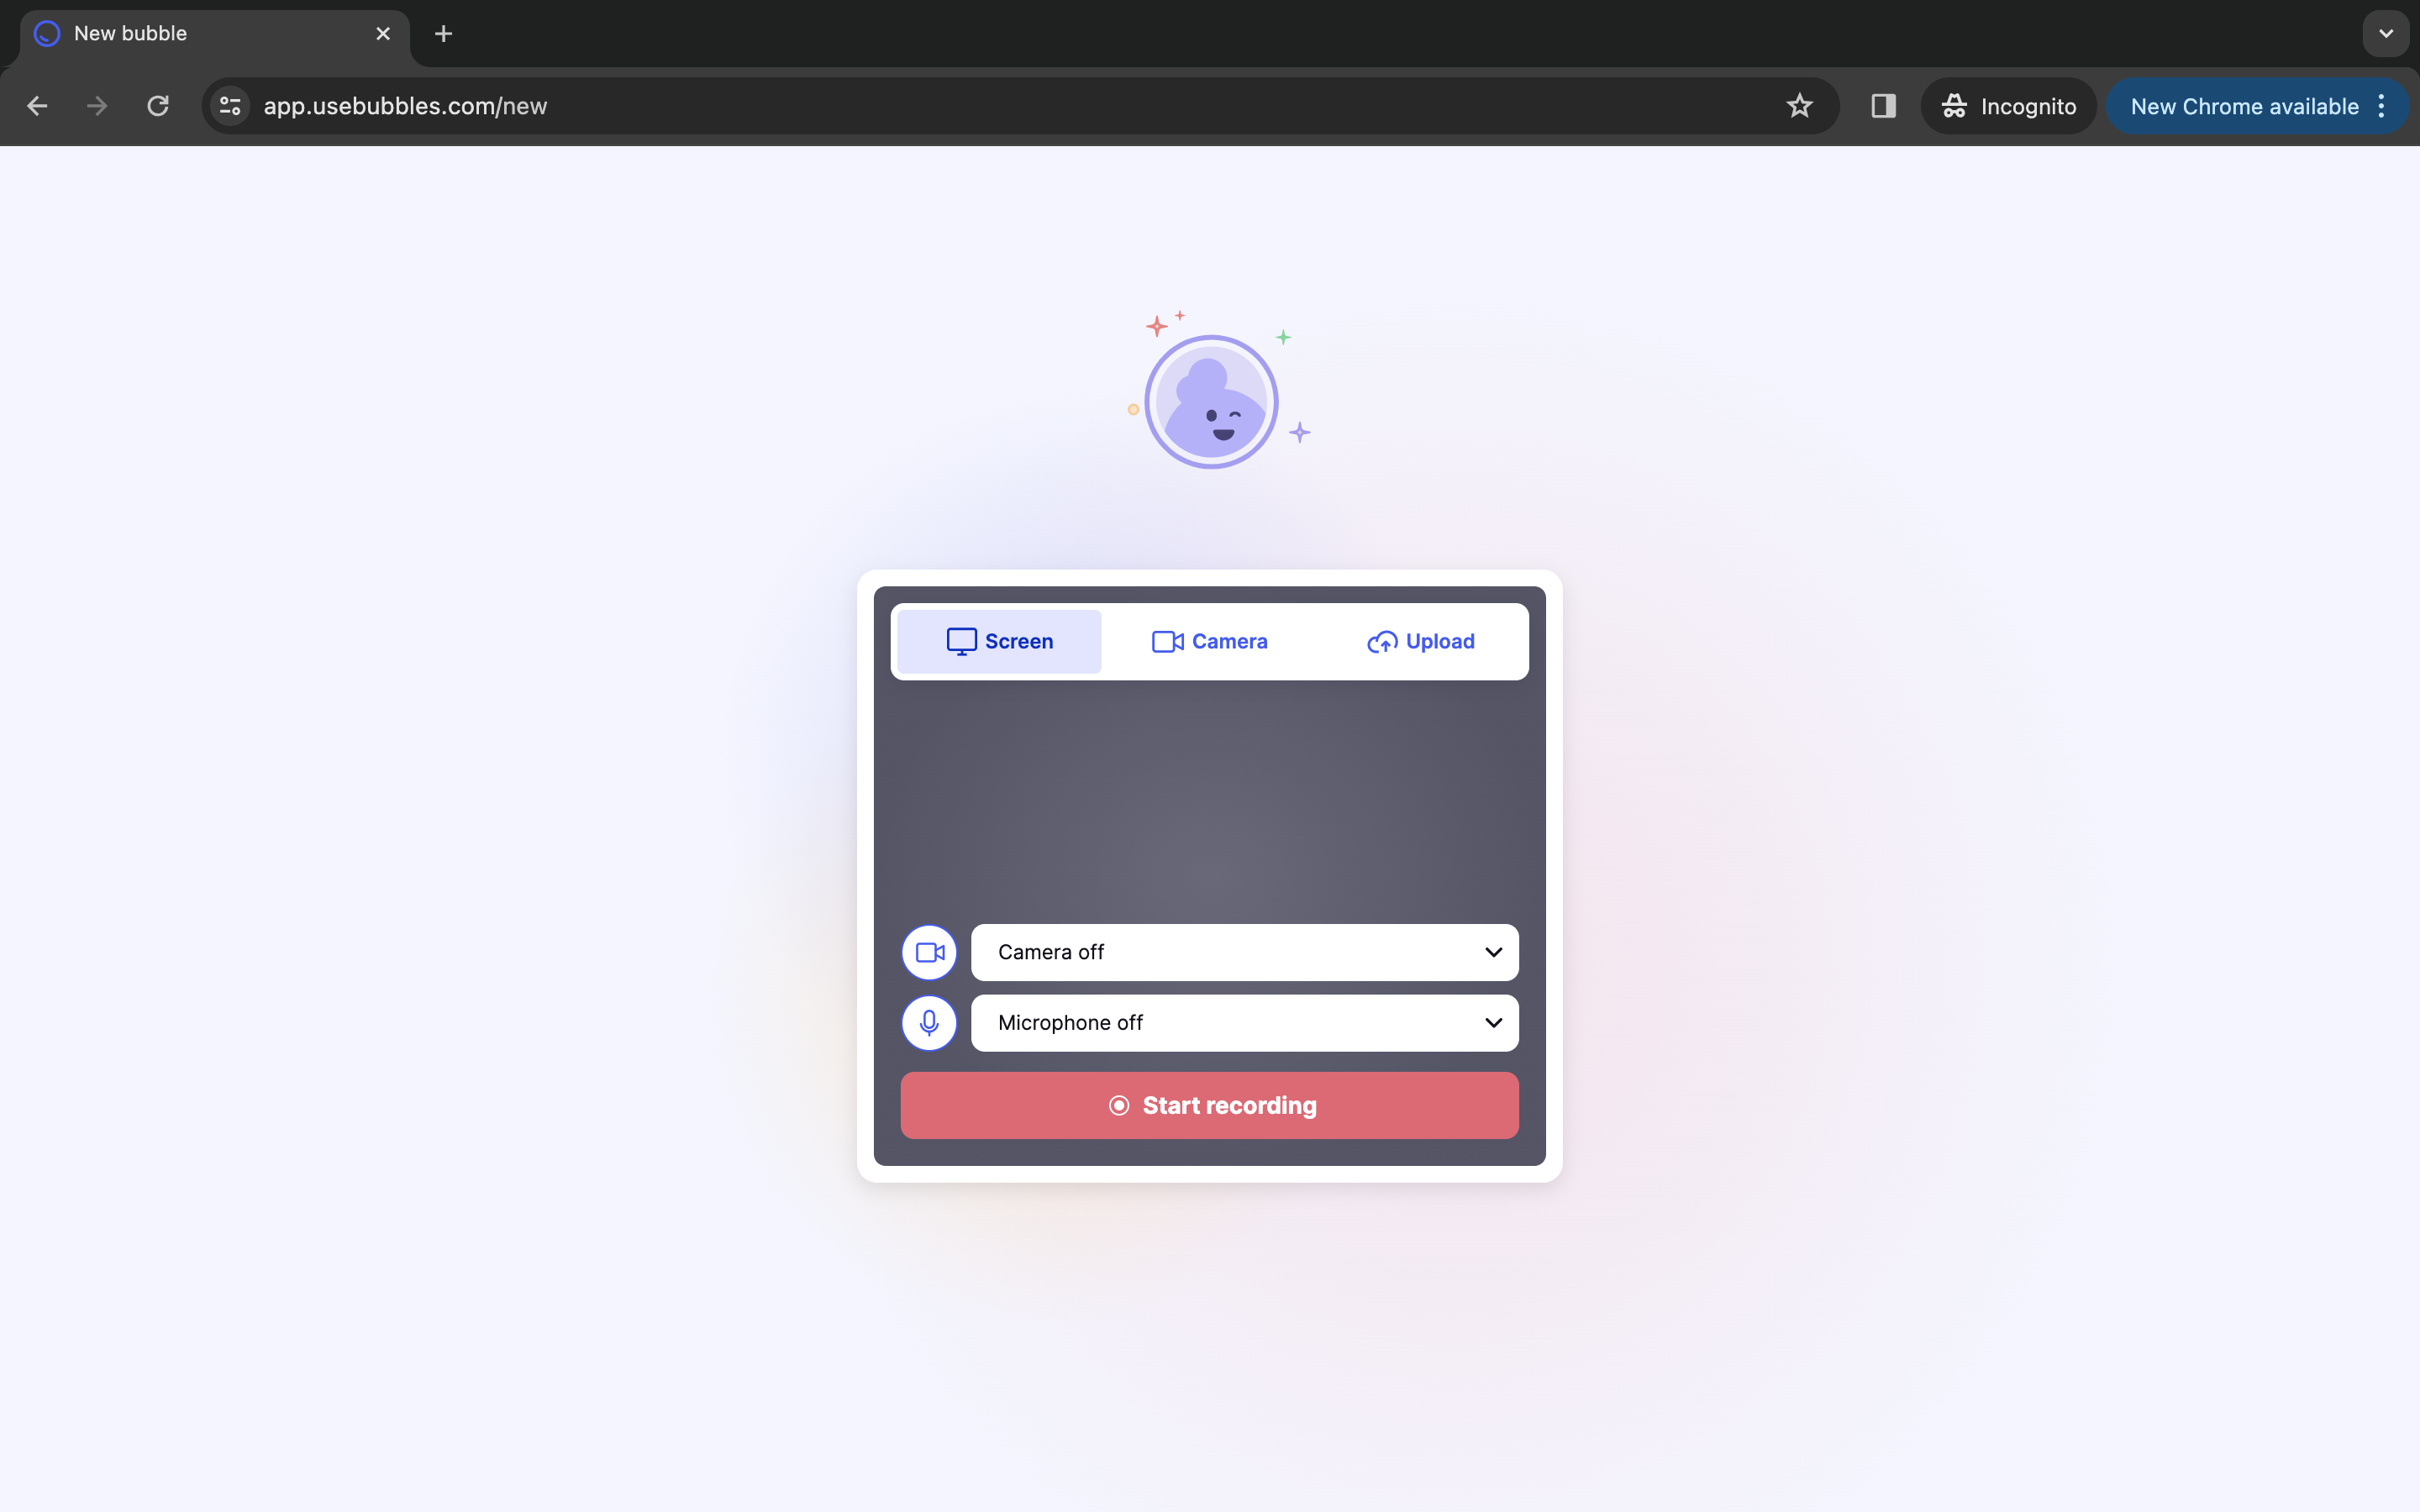
To record yourself alongside your screen, you will want to go ahead and click both the camera and microphone tabs, where you will be prompted to allow access to your camera and microphone. At this stage, you will also see that you have the choice between a screen recording with or without camera, a screen recording with or without audio, or just a camera recording of yourself without the screen, which can be great for presentations, among other things.
- Get Ready to Record

After you choose the option of video recording that tickles your fancy, and allow the necessary camera or microphone for this, you are good to go. As you can see here, I opted for a screen and video recording here, and of course I also needed some audio to talk you through how to use Bubbles best for your recordings, which will be the next step! One other thing to note here, and something that I will mention, is that when you press 'Start recording', you will be able to choose what to share with Bubbles, between an individual 'Chrome Tab', a 'Window', or your 'Entire screen'.
- Start Your Mac Video Recording with Bubbles
So just like that, you have recorded your video on your Mac in your own tailored style. That was easy, wasn't it? As I mention at the end of this walkthrough though, we still have a few options available to us once we stop sharing, and I want to go into these now, so that you are set-up fully on Bubbles, and can use this tool to achieve the video result in the exact manner you desire.
Make your
meetings matter
Loved and trusted by 100,000+ users:
- Automatically Record and Transcribe Meetings
- Extremely Accurate Notes, Summaries, and Action Items powered by AI
- Works with Zoom, Google Meet, and Microsoft Teams
- Save time and follow-up with quick async videos
Simply connect your work Google or Microsoft Calendar to get started.

- Your bubble is Ready; Are You?

Once you end the recording, you will be automatically taken to this stage. As mentioned earlier, there is no downloading or installing involved with Bubbles, and in order to get your video recording, all you need to do is sign-up with your name and work email, or simply continue with Google or Microsoft to instantly add some spice to your collaborative life.
- Share Your Masterpiece, or Lock it Away
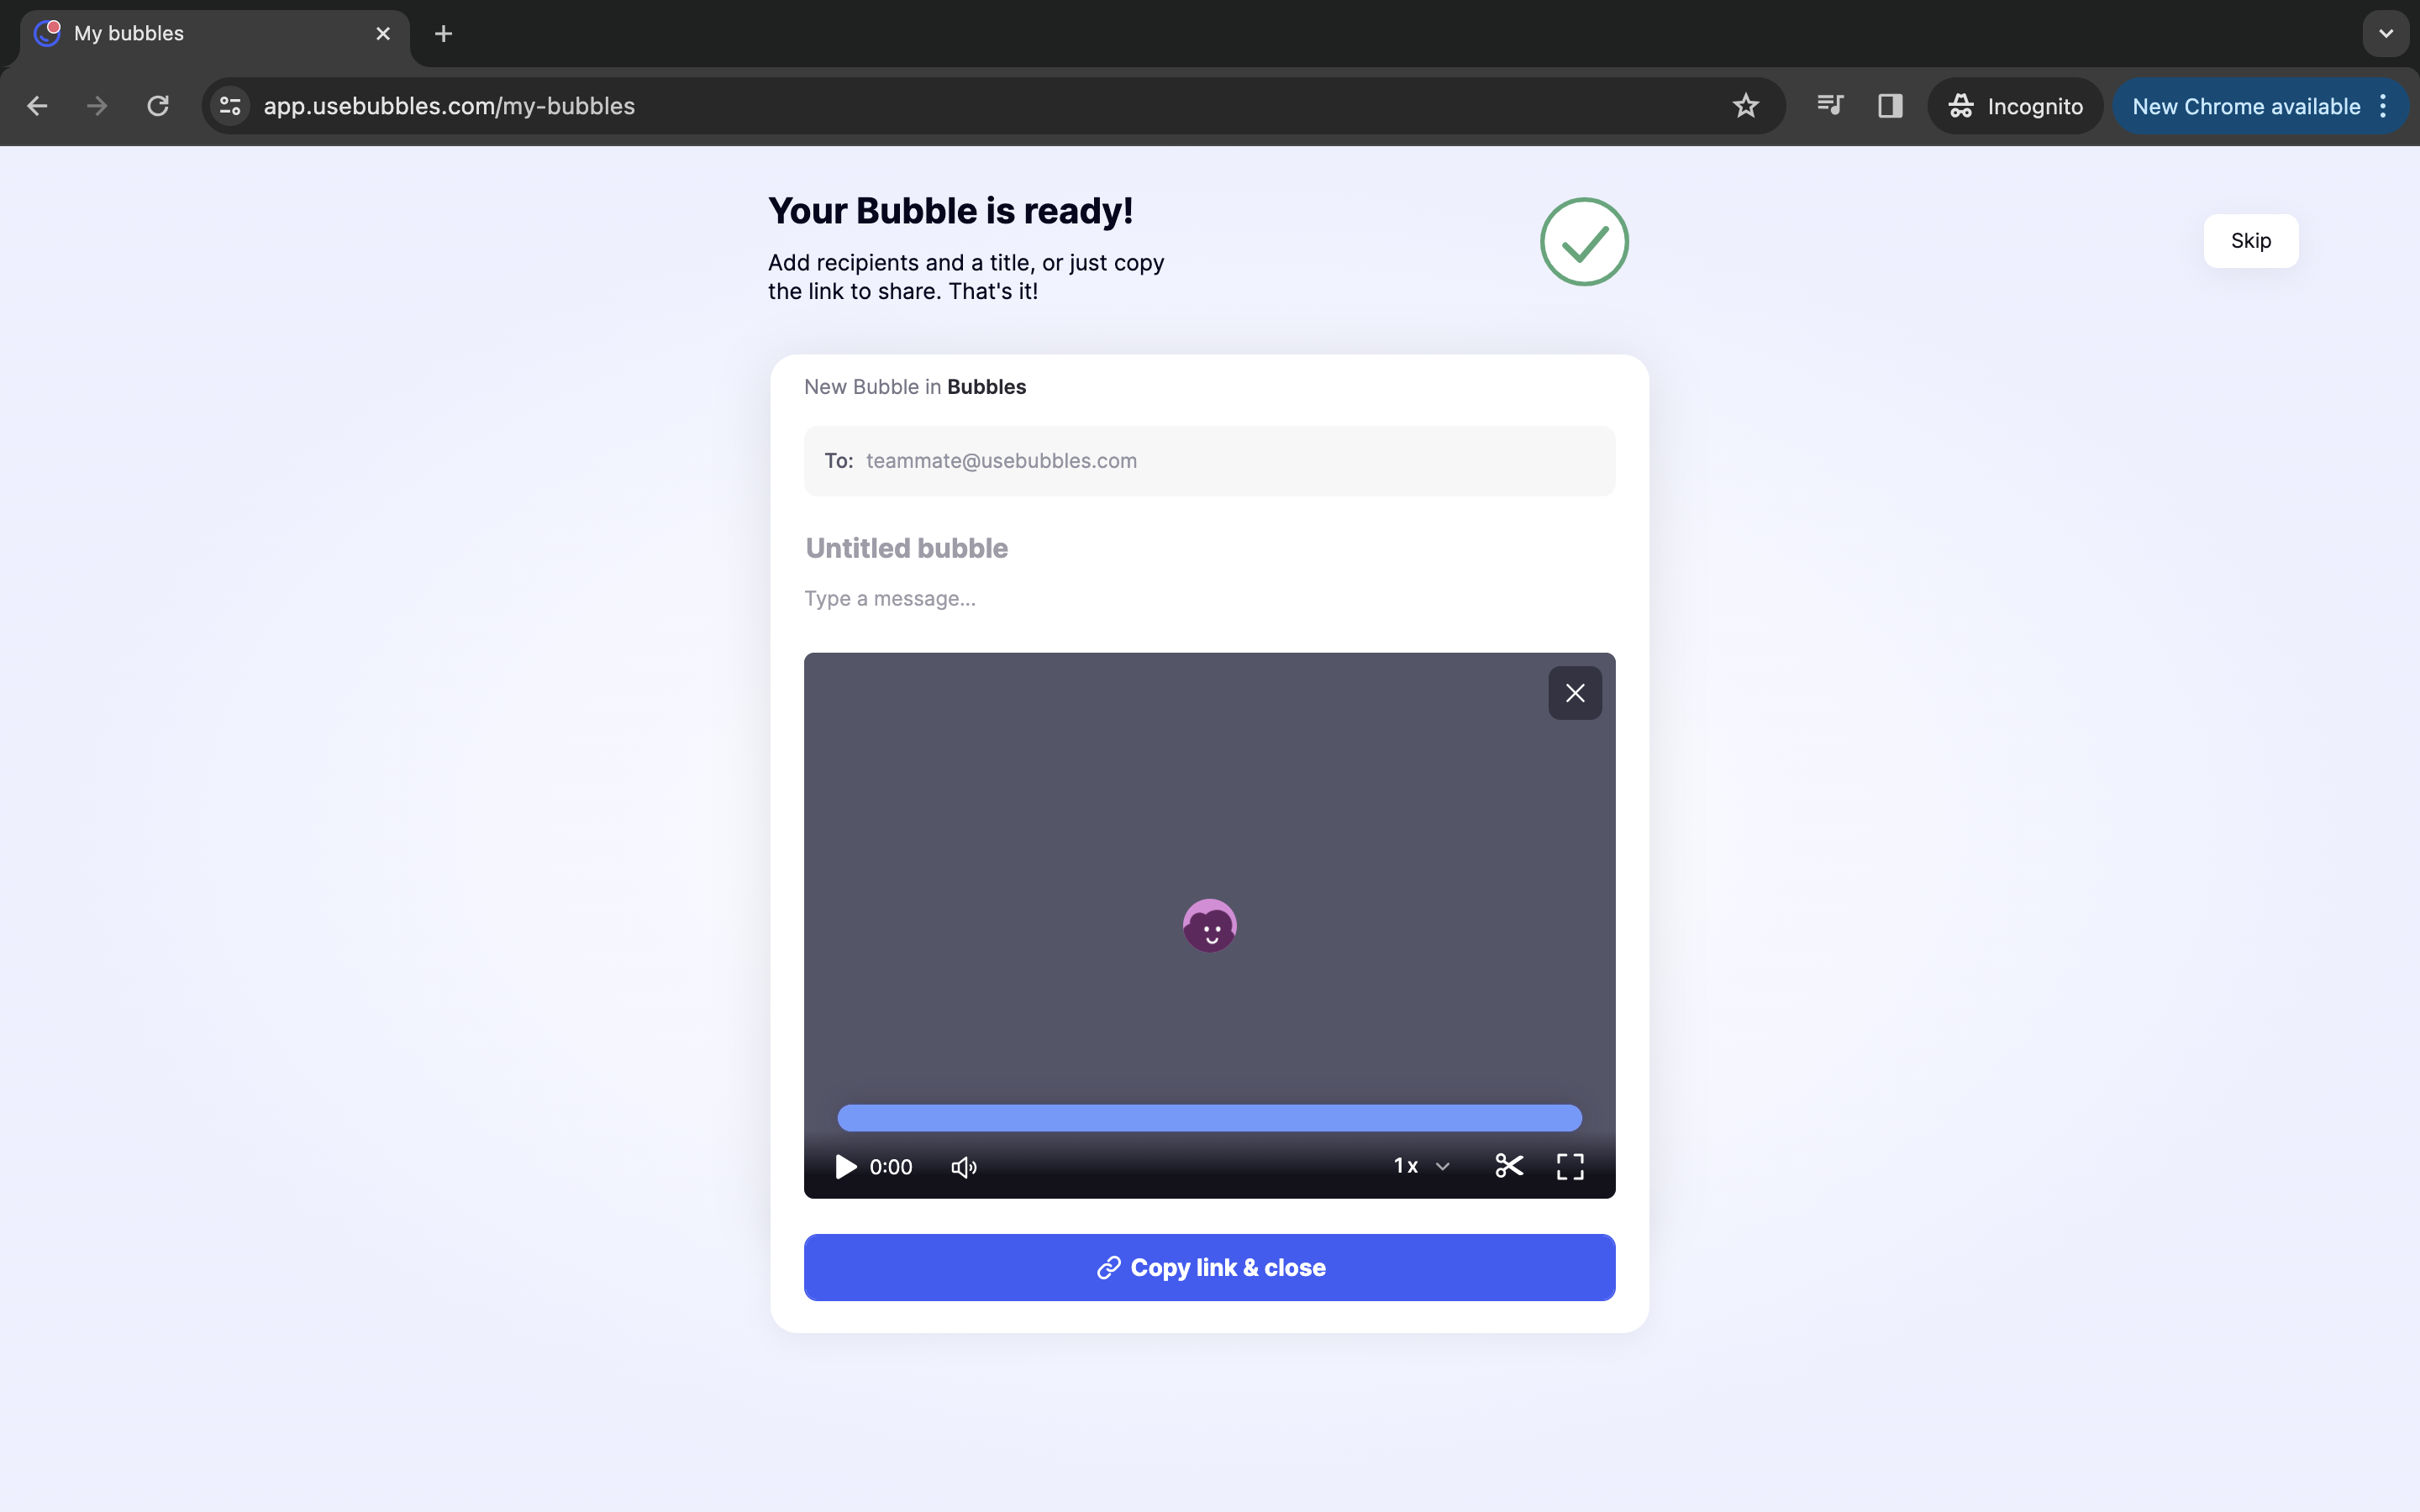
Once you have signed-up, you will be reintroduced to your bubble, and now you are free to do what you want with your recorded video. To continue the example from the video where we were pretending to showcase our article to our teammates and colleagues, we would choose to invite these people to view, comment, or react to our video recording here by typing their emails into 'to'. For a scenario like this, you might also tailor the title and the description message to really make sure you are getting what you want and need from your new video and from those you are collaborating with. Alternatively, you might want to lock this bubble away for a rainy day or for future self-reflection. In this instance, simply click 'Copy link & close'.
- Using Your Video Recording to Collaborate

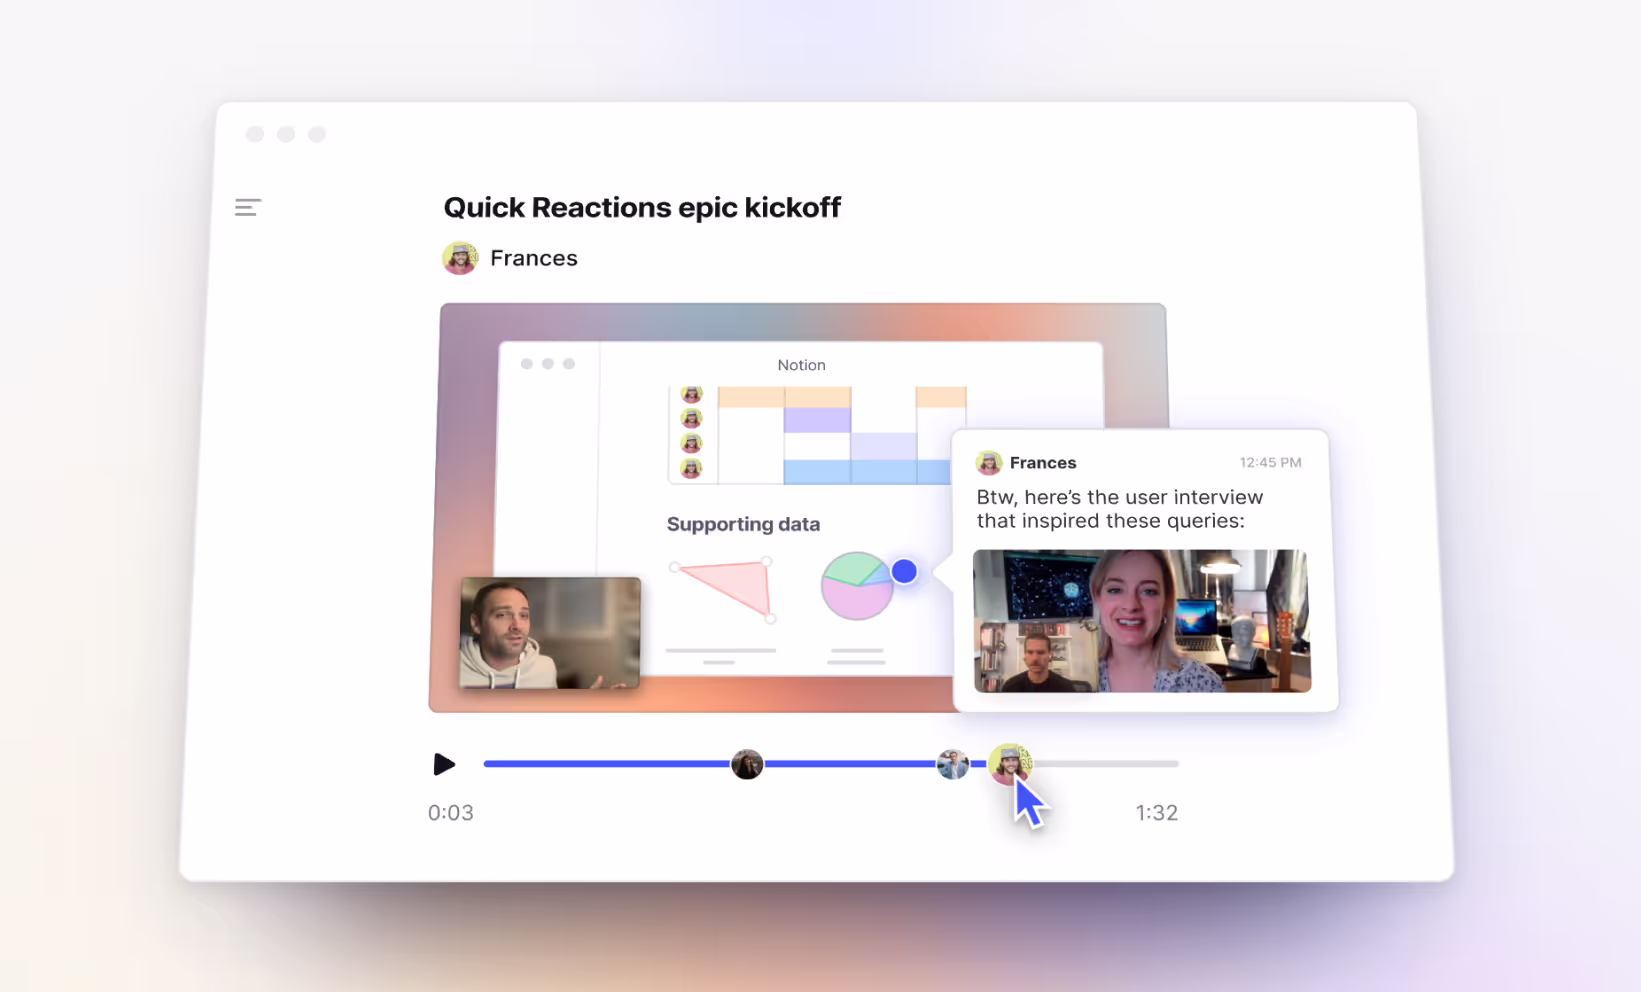
For those of you who are opting for the first, more collaborative option of step 5, you now reach the stage where Bubbles becomes more than just a Mac video recorder to you. When you have invited teammates, named the bubble, and chosen which workspace this video belongs in, you and those invitees will have access to it in your seperate 'My bubbles' sections. From here, you can go back into your video bubble to view any comments or feedback that has been dropped by your colleagues. This is also the same view that you would have if you were playing the role of feedback giver, and as you can see, there are diverse options to keep the conversation going.
Tips for Video Recording Yourself
We have established that this isn't essential, but I also noted the benefit of keeping facial interactions in the mix, and personally, I always try to do this. Therefore, I feel qualified to give some tips on how to set yourself up best here.
- Good lighting. There is nothing that screams amateur more than a hazy, dimly lit view of the presenter's face. It not only comes across as unprofessional, but can also portray a lack of confidence. Naturally, we aren't all confident presenting, but good lighting can really boost your image and persona.
- Similarly, make sure the camera is directly in front of you, and aligned with your eyes. You're one of the main parts of this recording, so make it look that way! Try to also keep eye contact, and make sure your whole face is in frame at all times. We don't want to only see half of your face, and by looking directly into the camera, you are more likely to grab the attention of the viewer, boosting engagement.
- Enunciation and clarity. This is something that will come with repetition, but again, speaking louder and taking care to not mumble can go a long way in portraying a strong, confident persona.
These tips are all possible from your Mac, and therefore, there isn't much of an excuse! Obviously, lighting is seperate, but common sense should prevail here. Don't present from a 'backlit' environment, and instead, place or position yourself with a light source in front. The Mac microphone and camera are also solid options, and will set you up for success when recording video, with Bubbles, or without. Anyway, to wrap things up, I hope the Mac isn't the only thing setting you up for success after this, and I hope that you now feel ready to smash it with your next video recording after reading my tips, and following this walkthrough. Best of luck!
Collaborate better with your team
Get your point across using screen, video, and audio messages. Bubbles is free, and offers unlimited recordings with a click of a button.
.avif)


Collaborate better with your team
Get your point across using screen, video, and audio messages. Bubbles is free, and offers unlimited recordings with a click of a button.
.avif)